1. 背景介绍
虽然现在大模型微调的文章很多,但纸上得来终觉浅,大模型微调的体感还是需要自己亲自上手实操过,才能有一些自己的感悟和直觉。这次我们选择使用llama_factory来微调chatglm-4-9B大模型。
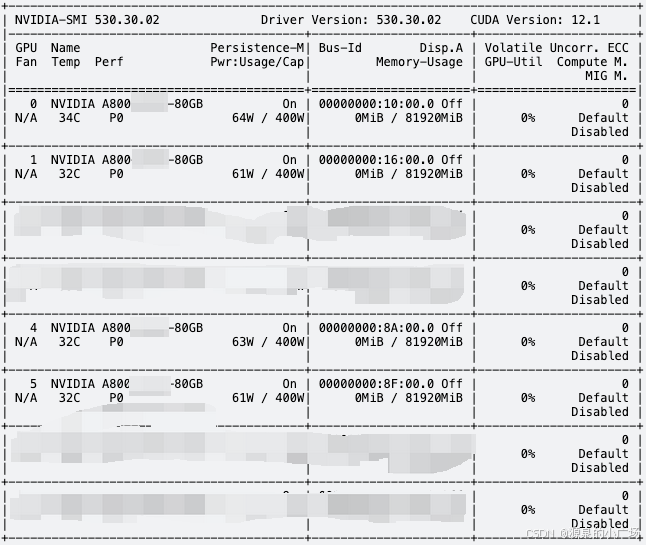
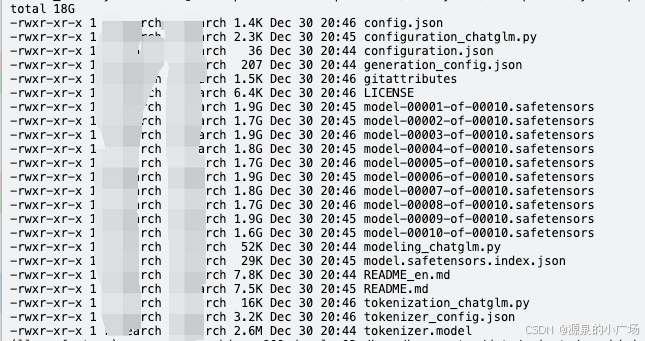
之前微调我们是用两块3090GPU显卡,但这次我们要全参微调chatglm-4-9B模型,模型大小为18G,显然两块3090卡48G显存支撑不了,因此采用A800的4张卡来训练。一般来说,全参微调的显存需求约为模型大小的20倍。按照惯例先上配置信息,方便对齐环境配置。

2. LLaMa Factory部署
本文参考【1, 2,3】进行实践。
2.1 安装conda并创建虚拟环境
> conda create -n llama_factory python=3.10 -y
> conda activate llama_factory
安装依赖包版本推荐:
torch 2.4.0
torchvision 0.19.0
nvidia-cublas-cu12 12.1.3.1
nvidia-cuda-cupti-cu12 12.1.105
nvidia-cuda-nvrtc-cu12 12.1.105
nvidia-cuda-runtime-cu12 12.1.105
transformers 4.46.1
datasets 3.1.0
accelerate 1.1.0
peft 0.13.2
trl 0.12.0
deepspeed 0.15.3
2.2 安装LLaMa Factory
下载并安装LLaMa factory
> git clone --depth 1 https://github.com/hiyouga/LLaMA-Factory.git
> cd LLaMA-Factory
> pip install -e ".[torch,metrics]"

运行测试:
llamafactory-cli help
3. Chatglm-4-9B全参微调
3.1 下载chatglm-4-9B大模型参数
基于modelscope下载模型,采用命令行下载方式
pip install modelscope
下载完整模型
modelscope download --model ZhipuAI/glm-4-9b-chat

3.2 训练配置
3.2.1 full_sft配置
chatglm_full_sft.yaml
### model
model_name_or_path: path/to/models/glm-4-9b-chat  #改成你自己的路径
trust_remote_code: true

### method
stage: sft
do_train: true
finetuning_type: full
freeze_vision_tower: true  # choices: [true, false]
train_mm_proj_only: false  # choices: [true, false]
deepspeed: examples/deepspeed/ds_z3_config.json  # choices: [ds_z0_config.json, ds_z2_config.json, ds_z3_config.json]

### dataset
dataset: identity,alpaca_en_demo
template: glm4  #选择对应模版
cutoff_len: 2048
max_samples: 1000
overwrite_cache: true
preprocessing_num_workers: 16

### output
output_dir: saves/chatglm_4-9b/full/sft  #定义微调模型参数存储路径
logging_steps: 10
save_steps: 500
plot_loss: true
overwrite_output_dir: true

### train
per_device_train_batch_size: 1
gradient_accumulation_steps: 2
learning_rate: 1.0e-5
num_train_epochs: 30.0
lr_scheduler_type: cosine
warmup_ratio: 0.1
bf16: true
ddp_timeout: 180000000

### eval
val_size: 0.1
per_device_eval_batch_size: 1
eval_strategy: steps
eval_steps: 500
3.2.2 deepspeed配置
主要区别在zero_optimization的配置层面。ZeRO 通过将模型的参数,梯度和 Optimizer State划分到不同进程来消除冗余的内存占用。ZeRO 有三个不同级别,分别对应对 Model States 不同程度的分割 (Paritition):- ZeRO-0:禁用所有分片;ZeRO-1:分割Optimizer States;- ZeRO-2:分割Optimizer States与Gradients;- ZeRO-3:分割Optimizer States、Gradients与Parameters【4】。
ds_z3_config.json
{
  "train_batch_size": "auto",
  "train_micro_batch_size_per_gpu": "auto",
  "gradient_accumulation_steps": "auto",
  "gradient_clipping": "auto",
  "zero_allow_untested_optimizer": true,
  "fp16": {
    "enabled": "auto",
    "loss_scale": 0,
    "loss_scale_window": 1000,
    "initial_scale_power": 16,
    "hysteresis": 2,
    "min_loss_scale": 1
  },
  "bf16": {
    "enabled": "auto"
  },
  "zero_optimization": {
    "stage": 3,
    "overlap_comm": true,
    "contiguous_gradients": true,
    "sub_group_size": 1e9,
    "reduce_bucket_size": "auto",
    "stage3_prefetch_bucket_size": "auto",
    "stage3_param_persistence_threshold": "auto",
    "stage3_max_live_parameters": 1e9,
    "stage3_max_reuse_distance": 1e9,
    "stage3_gather_16bit_weights_on_model_save": true
  }
}
3.2.3 template配置
src/llamafactory/data/template.py
glm4
_register_template(
    name="glm4",
    format_user=StringFormatter(slots=["<|user|>\n{{content}}<|assistant|>"]),
    format_assistant=StringFormatter(slots=["\n{{content}}"]),
    format_system=StringFormatter(slots=["<|system|>\n{{content}}"]),
    format_function=FunctionFormatter(slots=["{{content}}"], tool_format="glm4"),
    format_observation=StringFormatter(slots=["<|observation|>\n{{content}}<|assistant|>"]),
    format_tools=ToolFormatter(tool_format="glm4"),
    format_prefix=EmptyFormatter(slots=["[gMASK]<sop>"]),
    stop_words=["<|user|>", "<|observation|>"],
    efficient_eos=True,
)
3.3 数据集
数据集路径:/LLaMA-Factory/data
如果使用自己的数据集,需要更新data/dataset_info.json;
也就是首先将自己的数据集xxx.json放到data下,然后注册到data/dataset_info.json;
数据集格式可以参考data目录下的数据集,比如:alpaca_zh_demo.json

3.4 模型微调
9B模型至少需要4张卡,全参微调的显存占用会暴涨原始参数大小的20倍左右。卡的数量一般选择2的n次方。
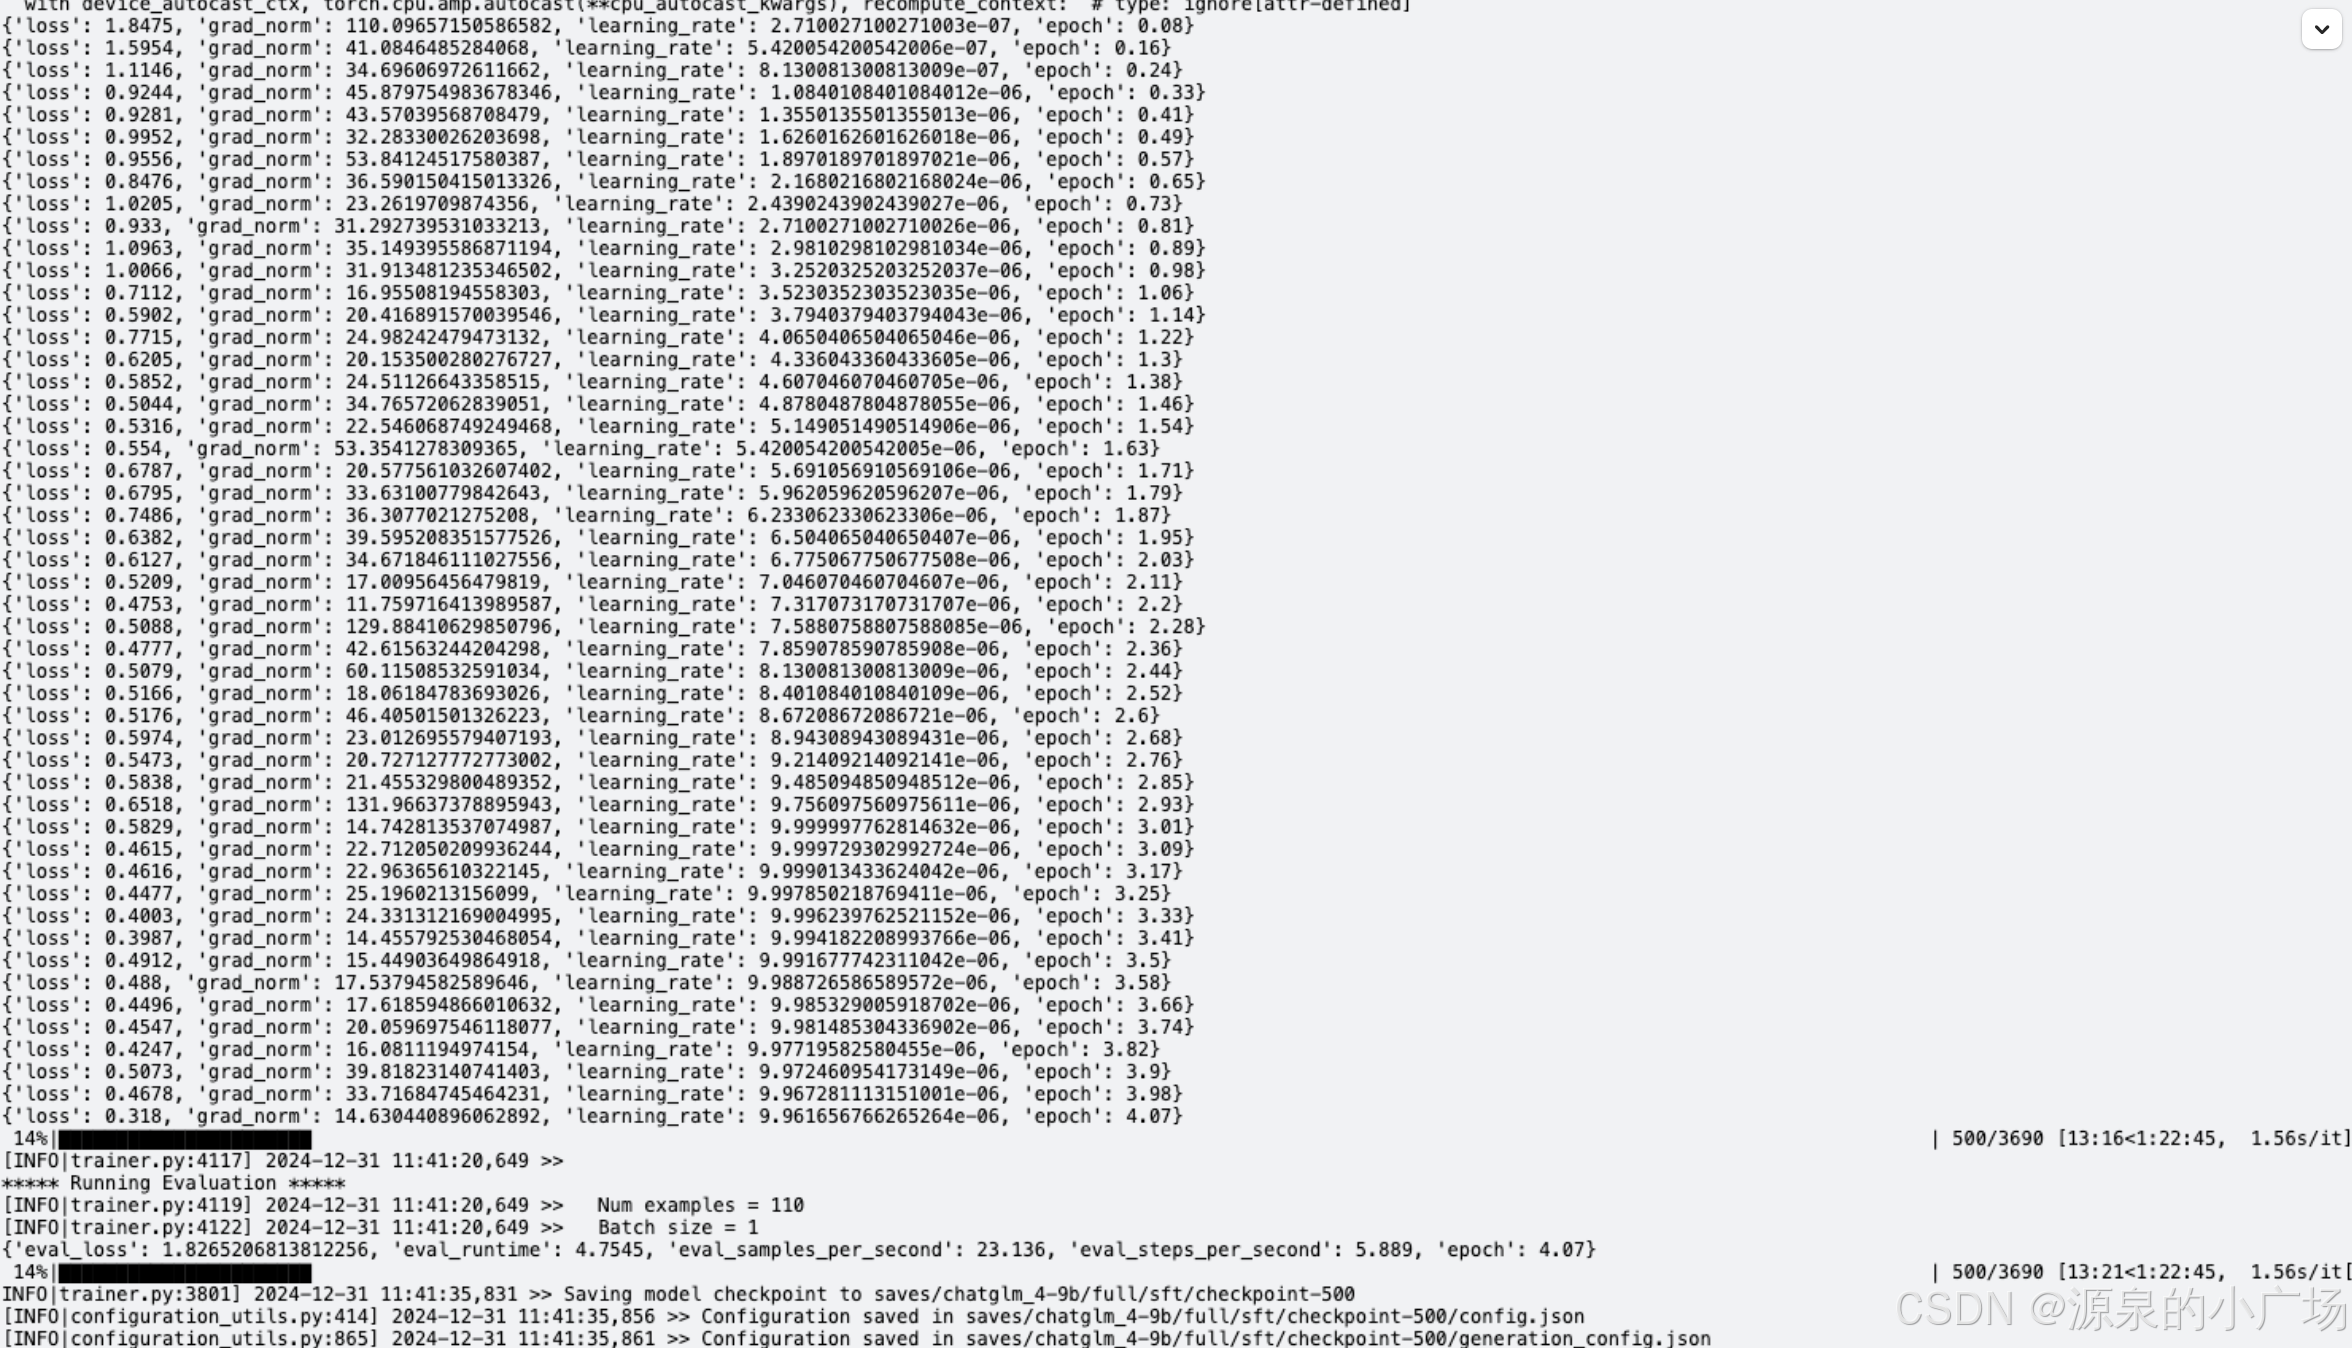
CUDA_VISIBLE_DEVICES=0,1,4,5 HF_ENDPOINT=https://hf-mirror.com llamafactory-cli train examples/train_full/chatglm_full_sft.yaml
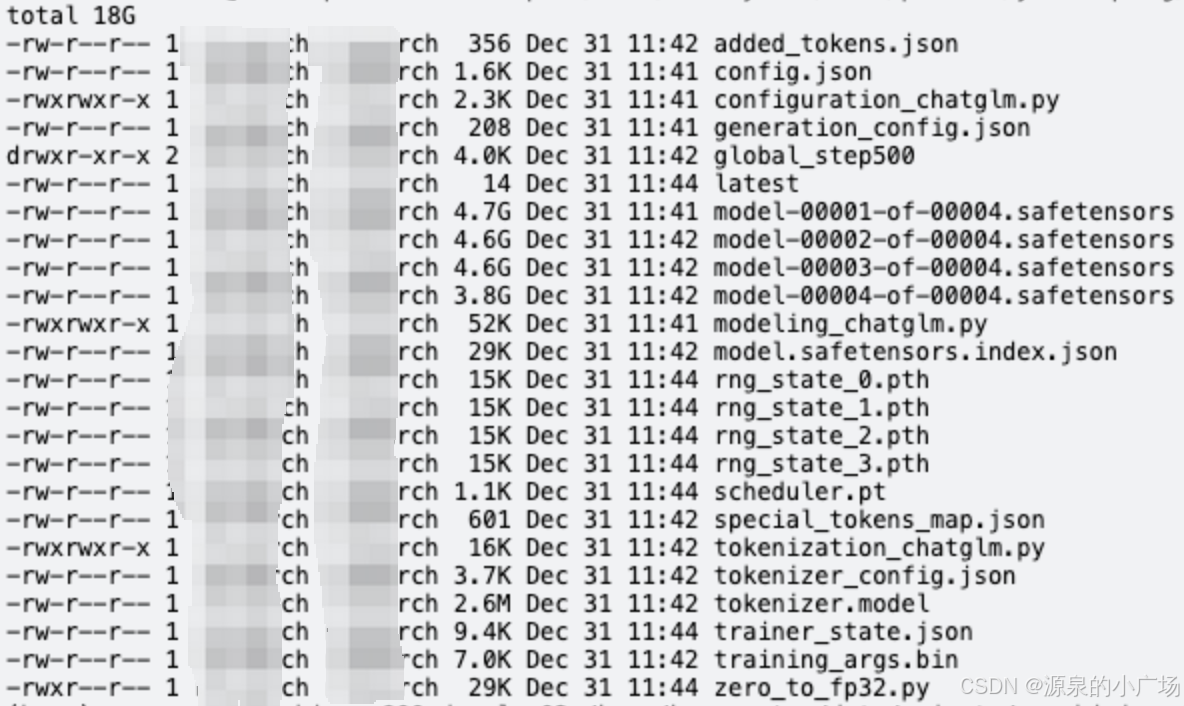
可以看到保存的checkpoint-500的内容

5. 参考材料
【1】https://github.com/hiyouga/LLaMA-Factory