目录
环境说明
系统版本 CentOS 7.2 x86_64
软件版本 gitlab-ce-10.8.4
GitLab安装
Gitlab的rpm包集成了它需要的软件,简化了安装步骤,所以直接安装rpm包即可,rpm包的获取从官方网站或者国内镜像源(如:清华Index of /gitlab-ce/yum/el7/ | 清华大学开源软件镜像站 | Tsinghua Open Source Mirror)获取,gitlab又分为社区版和企业版(收费),这里部署的是社区版本10.8.4
firewall-cmd --state 检查防火墙状态
systemctl stop firewalld.service 停止防火墙
在Xshell中执行
[root@gitlab ~]# mkdir -p /service/tools
[root@gitlab ~]# cd /service/tools/
本地的rpm包在 D:\classfile

然后打开Xftp,将rpm文件包拖入到右侧视图,注意右侧此时的路径
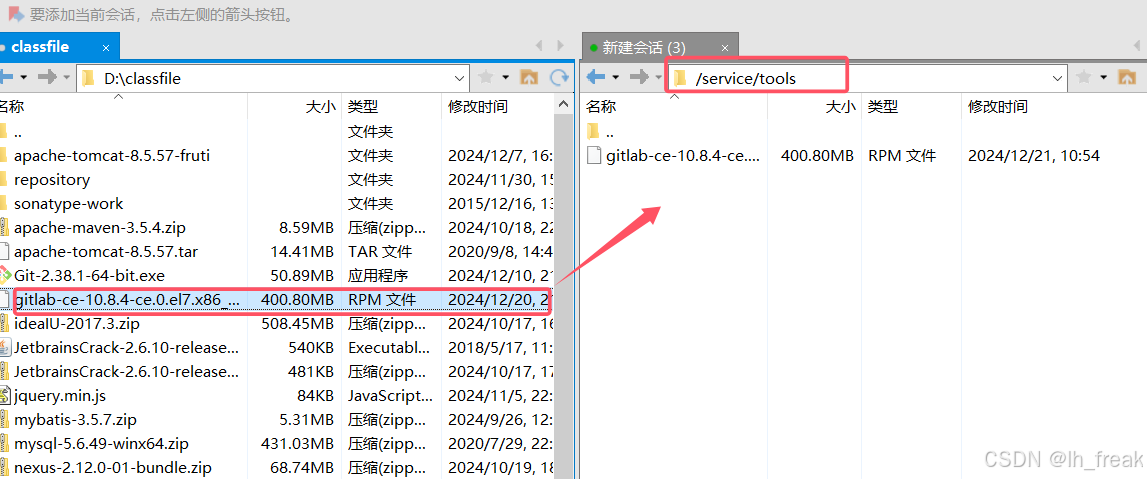
#安装下载好的rpm包
[root@gitlab tools]# yum localinstall -y gitlab-ce-10.8.4-ce.0.el7.x86_64.rpm #安装下载好的rpm包
如果选择在线安装
[root@gitlab ~]# rpm -ivh https://mirrors.tuna.tsinghua.edu.cn/gitlab-ce/yum/el7/gitlab-ce-10.8.4-ce.0.el7.x86_64.rpm #执行rpm -ivh 在线安装

安装成功,但是需要配置,安装完成后出现上面的提示,按照提示修改配置文件中的url地址为本地服务器的地址
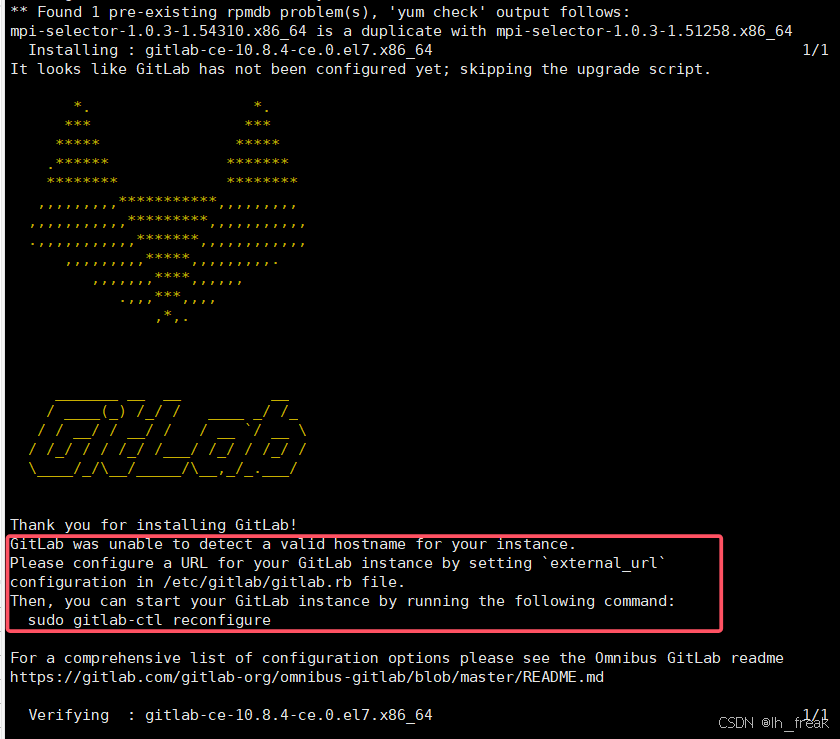
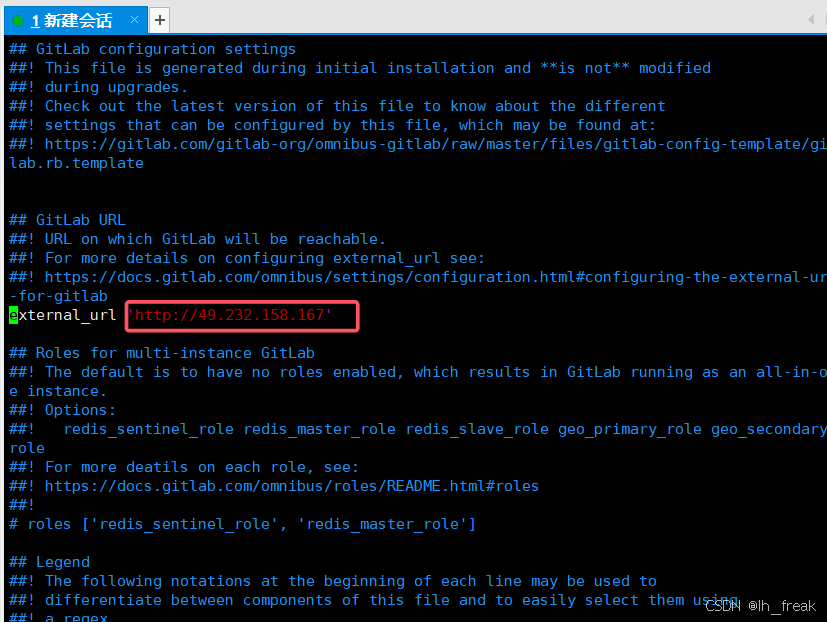
[root@gitlab tools]# vim /etc/gitlab/gitlab.rb
框中的内改为自己云服务器的公网ip
[root@gitlab tools]# gitlab-ctl reconfigure #重新加载配置
查看版本
[root@gitlab tools]# cat /opt/gitlab/embedded/service/gitlab-rails/VERSION 或者 [root@gitlab tools]# rpm -qa gitlab-ce
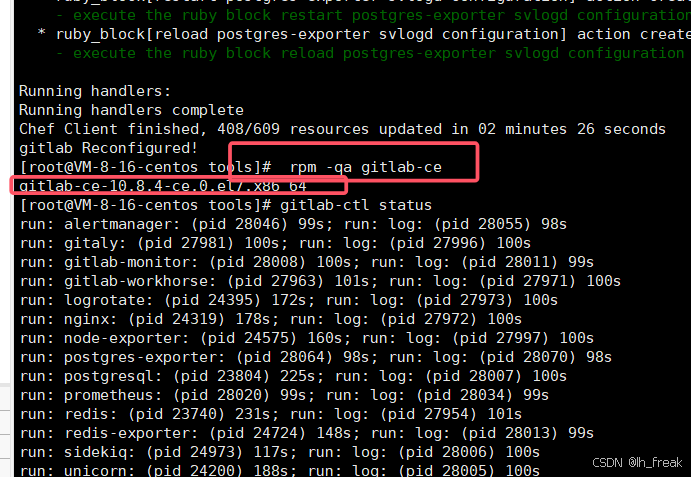
查看相关目录
[root@gitlab tools]# ls /opt/gitlab/
不建议汉化
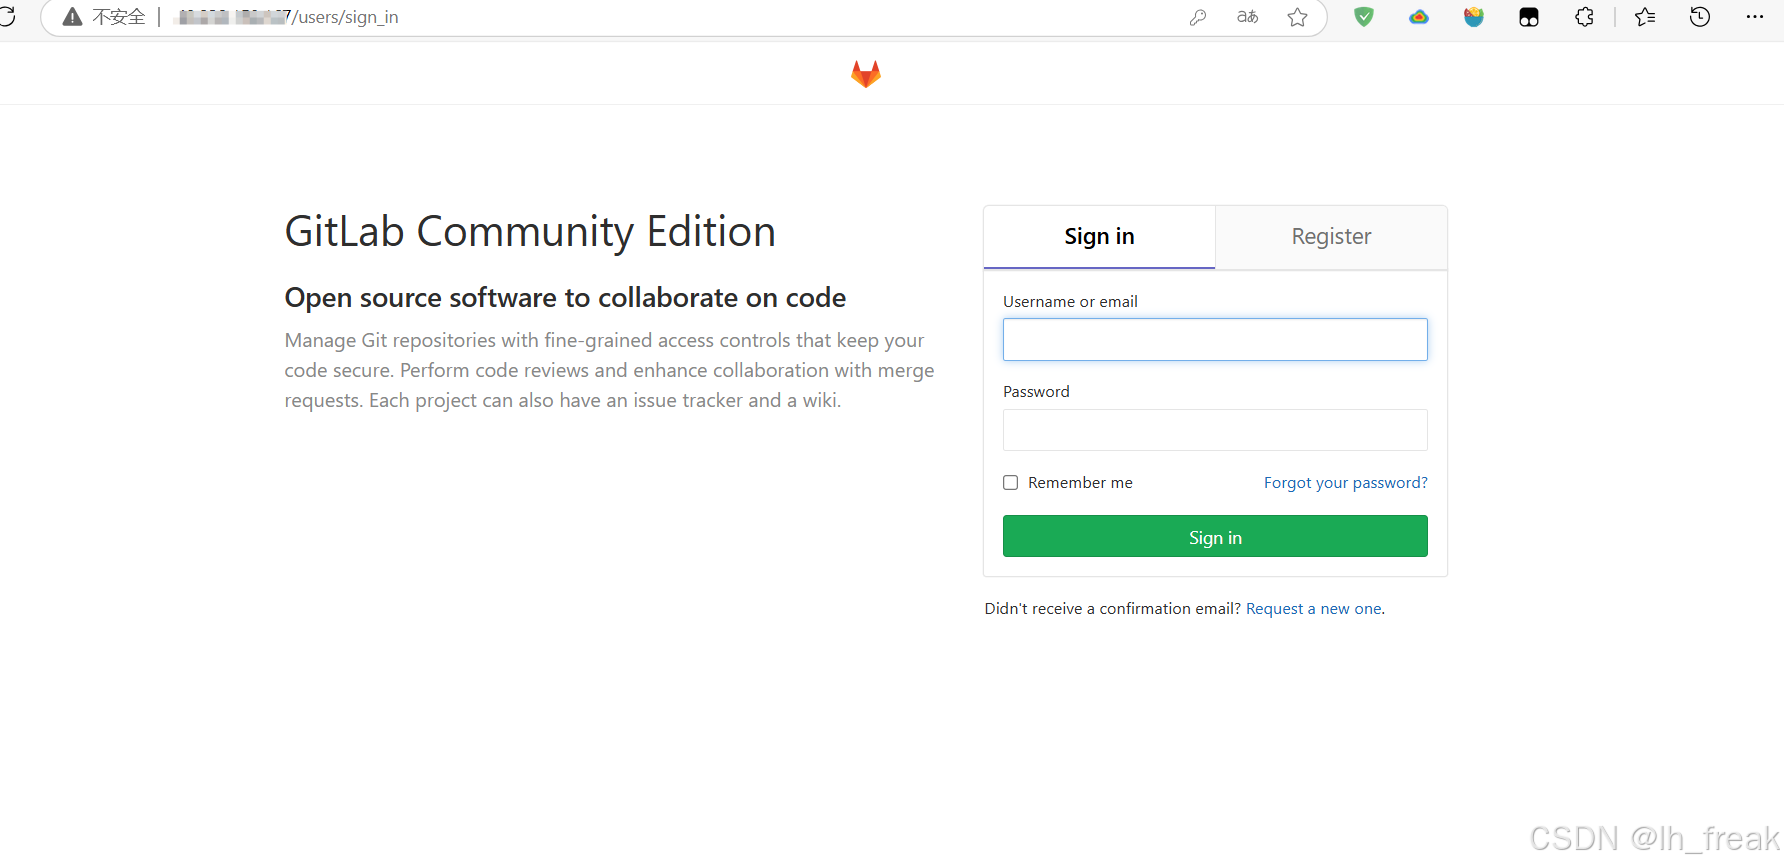
查看gitlab服务状态,重启gitlab组件,然后在浏览器输入你的公网ip
进入页面,如果显示502错误,可以在你的公网ip后加一个/
例如
12.222.123.123/
GitLab使用
GitLab终端常用命令
gitlab-ctl start #启动所有 gitlab 组件;
gitlab-ctl stop #停止所有 gitlab 组件;
gitlab-ctl restart #重启所有 gitlab 组件;
gitlab-ctl status #查看服务状态;
gitlab-ctl reconfigure #启动服务;
vim /etc/gitlab/gitlab.rb #修改默认的配置文件;
gitlab-rake gitlab:check SANITIZE=true --trace #检查gitlab;
gitlab-ctl tail #查看日志;
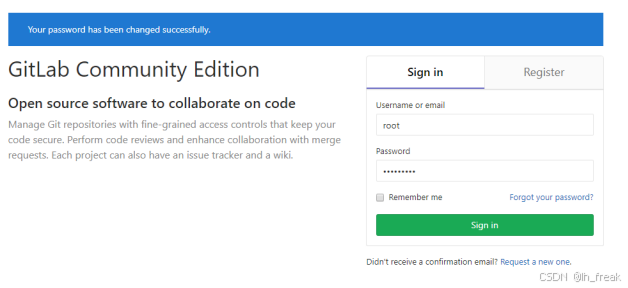
修改密码后进行登录,登录的用户名为root
使用前可选操作
修改web端口
如果80和8080端口被占用可以修改
[root@gitlab tools]# vim /var/opt/gitlab/gitlab-rails/etc/unicorn.rb
listen "127.0.0.1:8080", :tcp_nopush => true
修改nginx端口
[root@gitlab tools]# vim /var/opt/gitlab/nginx/conf/gitlab-http.conf
server {
listen *:80;
修改Prometheus端口
[root@gitlab tools]# vim /etc/gitlab/gitlab.rb
external_url 'http://10.0.0.5:port' #根据需要修改端口
修改后需要重新加载配置并启动
使用方法
在浏览器中输入你的公网ip访问
重置密码
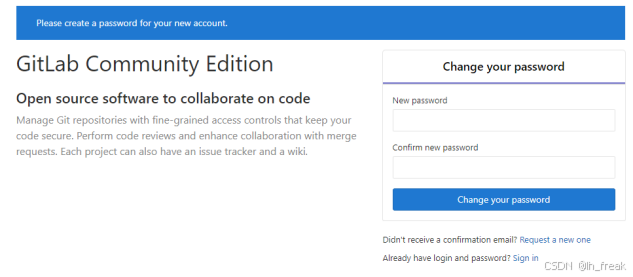
登录:默认用户名是root,密码使用刚刚重置过的。
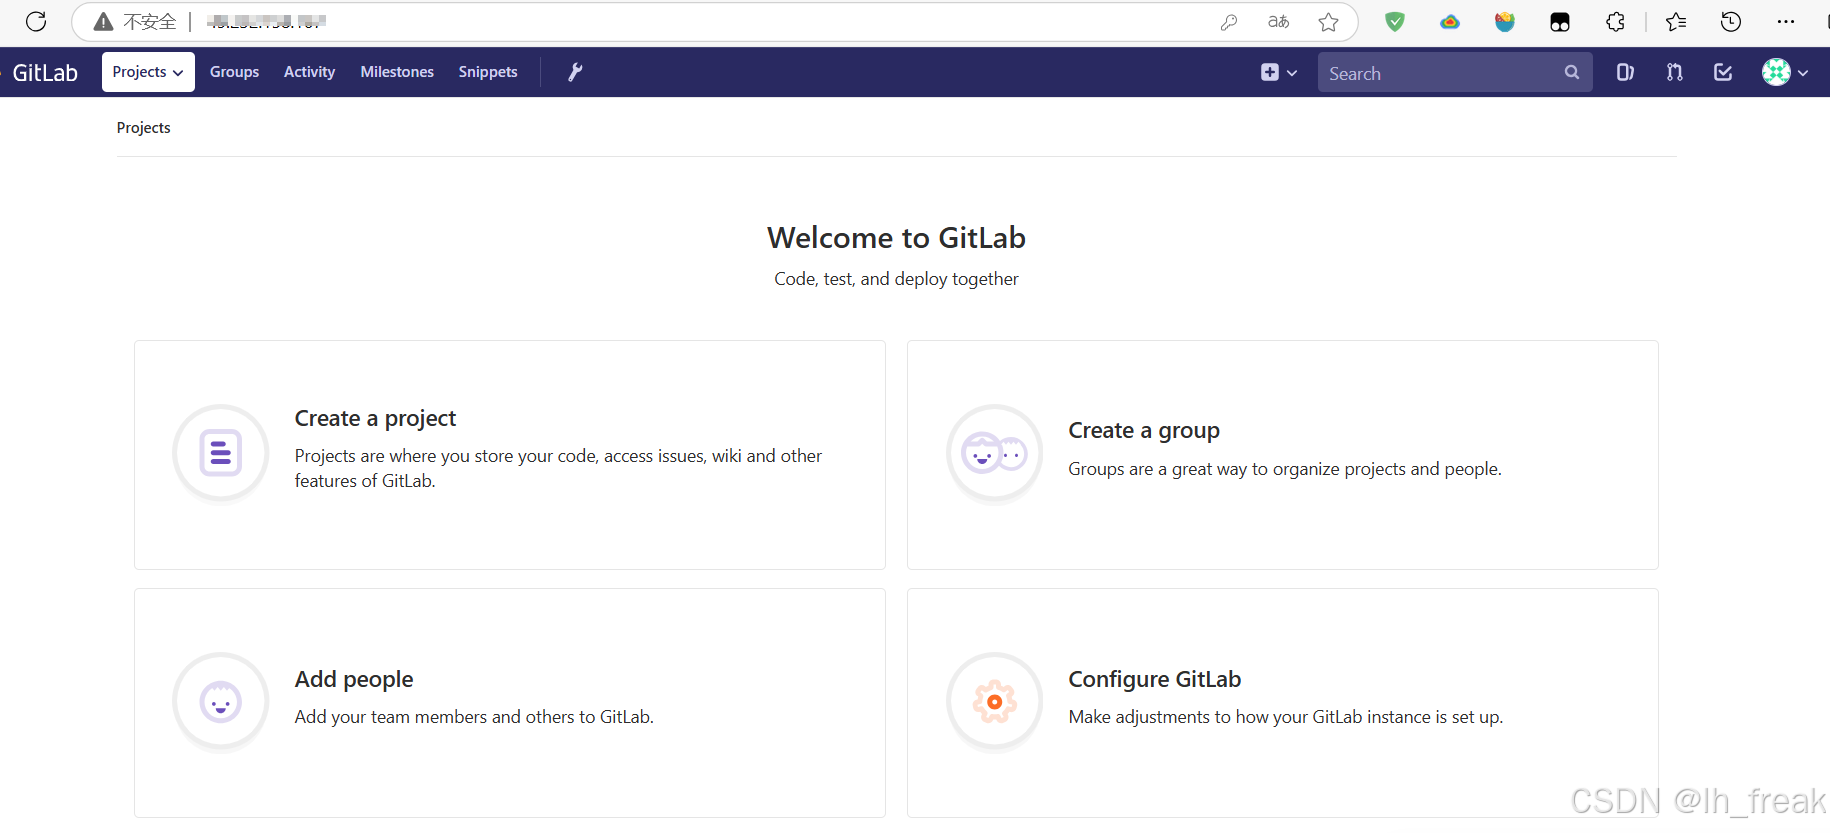
进入之后和你的gitee和github创建仓库操作一样
GitLab的卸载
一、停止gitlab
sudo gitlab-ctl stop
二、卸载gitlab(这块注意了,看看是gitlab-ce版本还是gitlab-ee版本,别写错误了)
sudo rpm -e gitlab-ce
三、查看gitlab进程
ps -ef|grep gitlab
杀掉第一个守护进程(runsvdir -P /opt/gitlab/service log)
kill -9 4473
再次查看gitlab进程是否存在
四、删除gitlab文件
find / -name *gitlab*|xargs rm -rf 删除所有包含gitlab的文件及目录
find / -name gitlab |xargs rm -rf
删除gitlab-ctl uninstall时自动在root下备份的配置文件(ls /root/gitlab* 看看有没有,有也删除)
通过以上几步就可以彻底卸载gitlab